My husband asked for Chicken and Dumplings tonight. For those low-carbers who miss dumplings and noodles, and don’t find any commercial product to quite meet that need, here’s a recipe you’ll really appreciate! Only took 4 years to develop, but I finally got the results I wanted.
When you can’t eat flour, it’s really really hard to make dumplings that will hold together during cooking. Alternate flours like almond flour, coconut flour, flax meal and a variety of others have left me wanting in the dumpling department. You name it and I’ve probably tried that alternate flour to make a dumpling. This is no easy low-carb feat. I wanted a similar taste and similar mouth feel as the dumplings I made before my low-carbing days. All attempts thus far have been mediocre, at best, and not recipes I’ve tried on the net have pleased me either.
Somewhere on the web several years ago, someone mentioned glucomannan powder in a discussion. Not being at all familiar with this product, I ordered some from Netrition.com and began to experiment. The powder becomes gel-like in water, with a fiber rating to beat the band. I thought to myself, why not try a dumpling with this slippery stuff? It might just provide the structure and elasticity I’m looking for. BTW, glucomannan is also useful for thickening gravies, sauces and puddings. I’ve even found a tad enhances low-carb cakes, cookies and my bread baking results, both in volume and texture. I’d love to give credit to my inspiration on this recipe. I failed to note or remember where I heard about it, or who mentioned it but am very happy they triggered off some experimentation that has led me to this wonderful recipe!
If you’re not familiar with glucomannan powder, it comes from the Konjac tuber, and is used to make shirataki noodles sometimes used in Asian kitchens. It can be used as a binding agent in some recipes. It is virtually a zero carb food, in that the fiber content is so high, it virtually negates the few carbs it contains indigestible fiber that passes right out of the body with zero blood glucose impact. More importantly, glucomannan adds the structure and elasticity needed for dumplings and noodles. Thus my experimenting began.
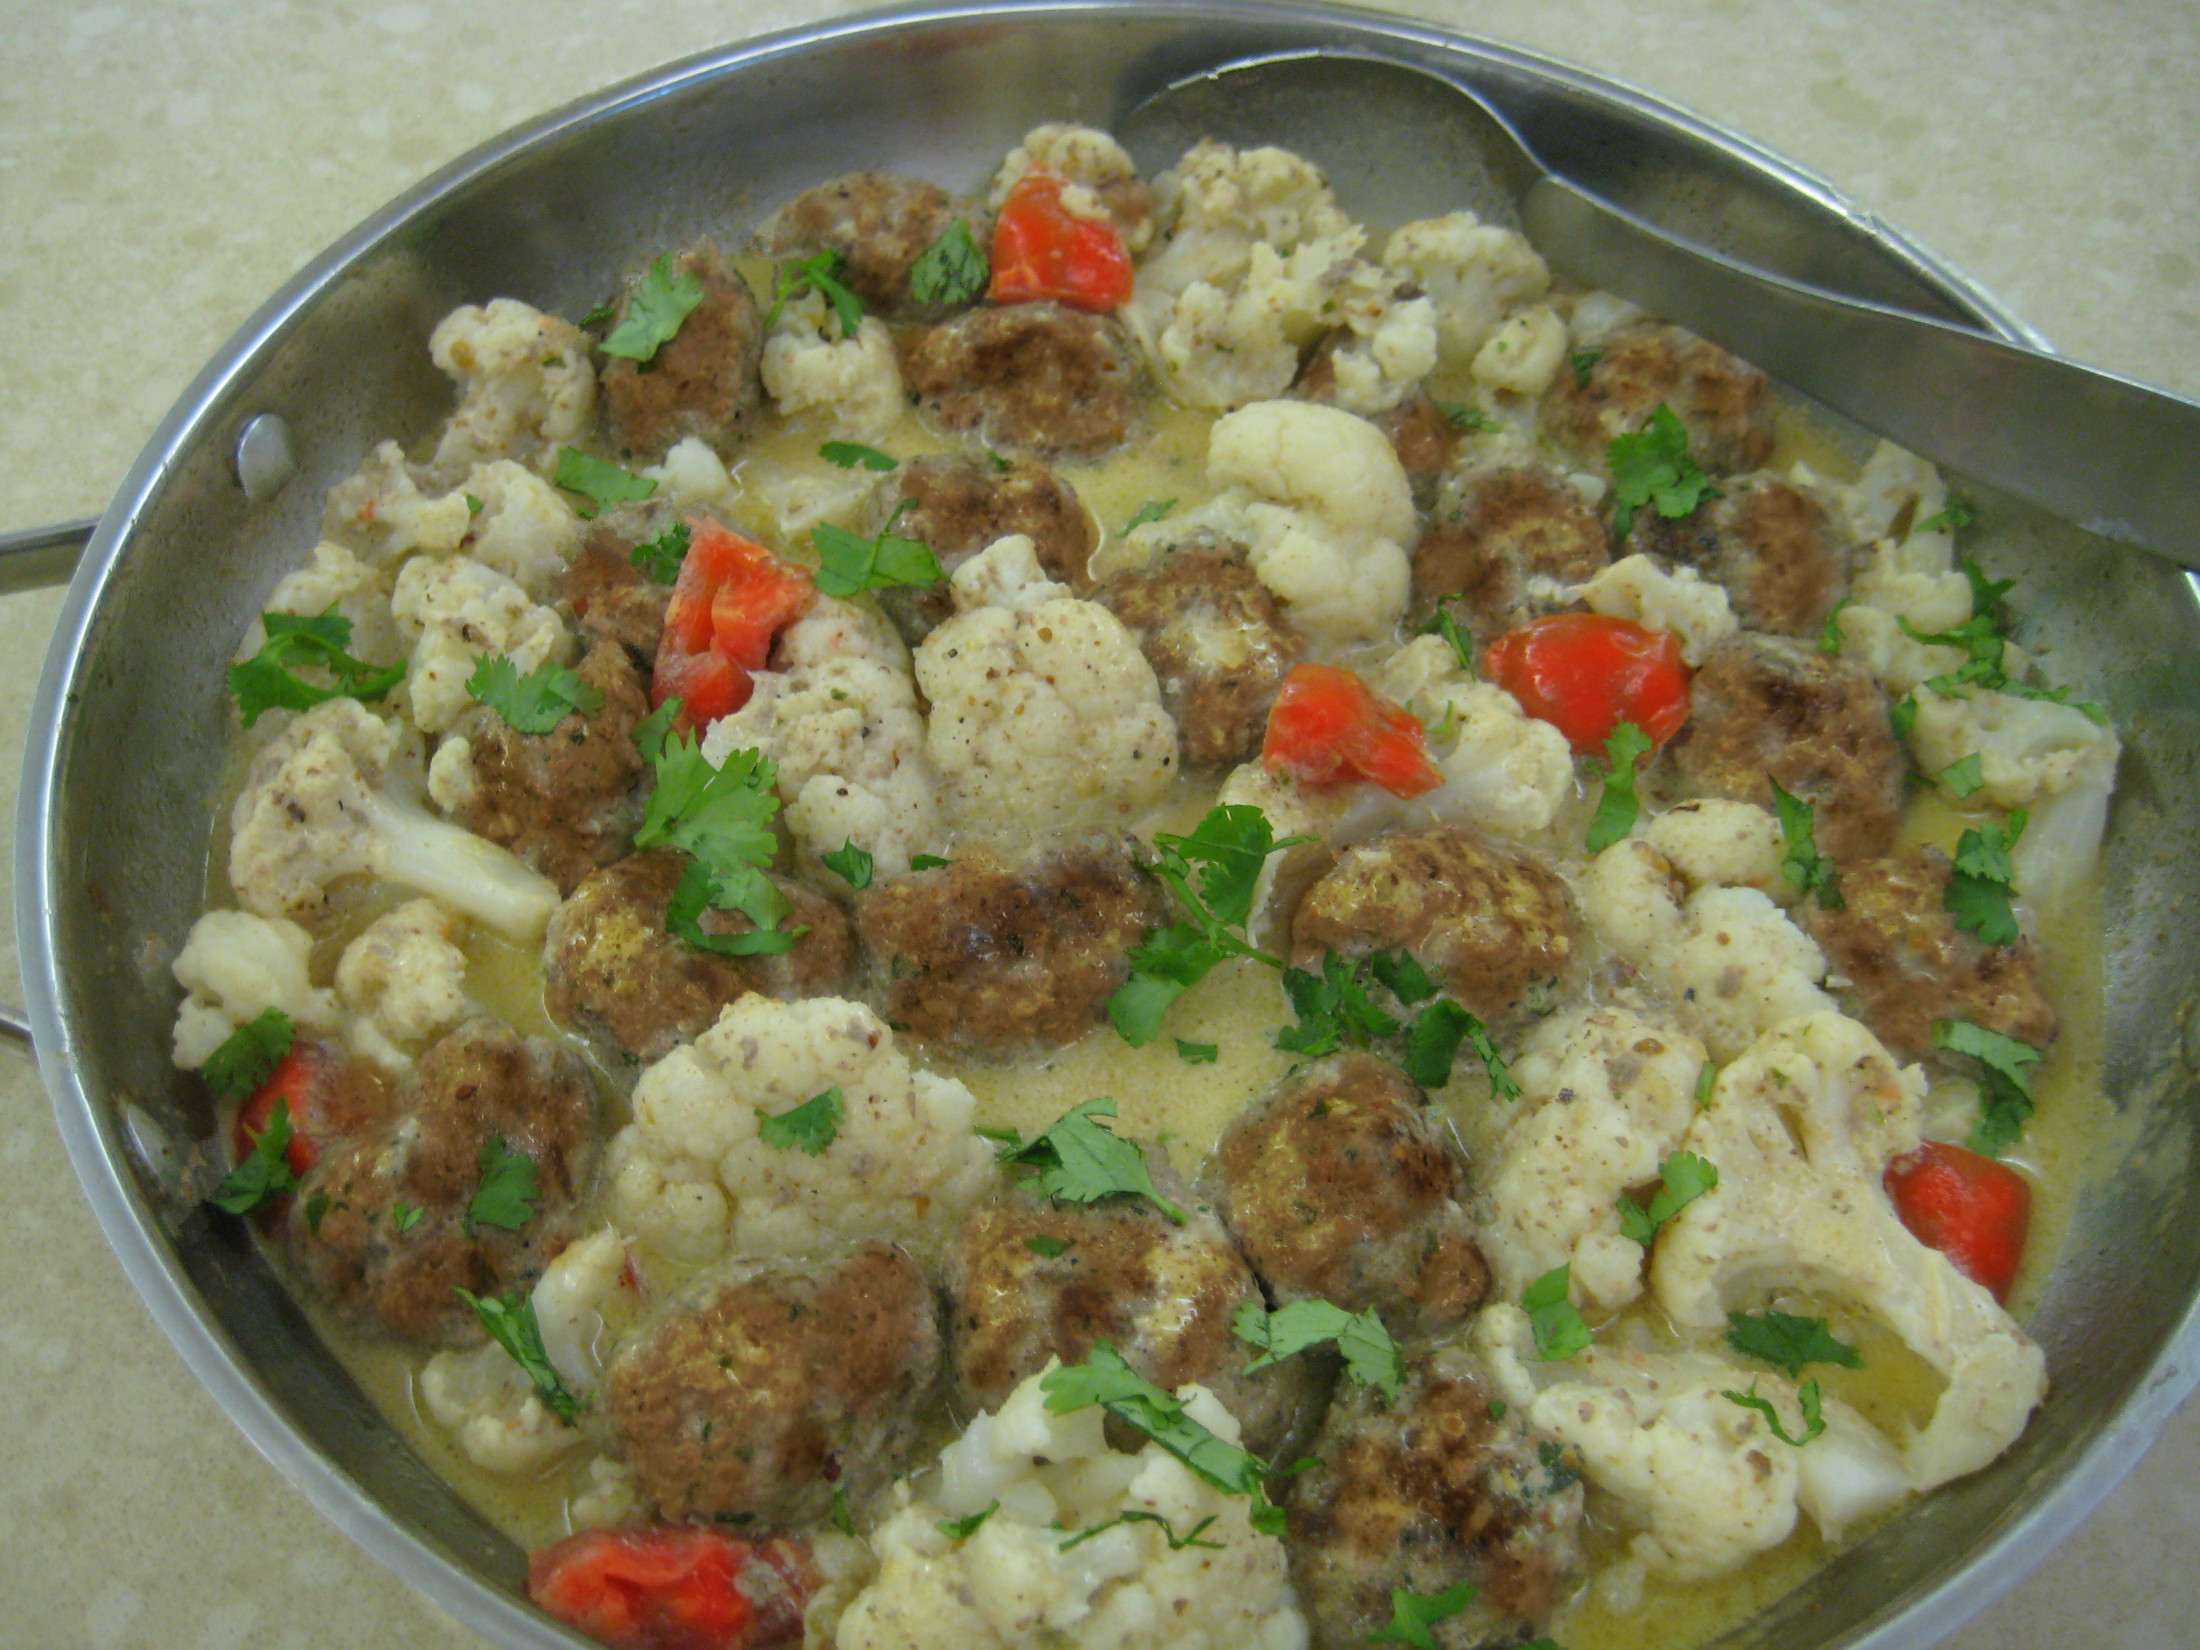
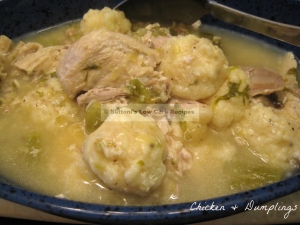
I’m getting more comfortable using this tricky ingredient and have finally come up with a “dumpling” that feels and almost tastes like my flour dumplings of old. This will now be my go-to low-carb dumpling recipe. As you can see in the pic above, they hold together nicely during very gentle simmering (unlike all previous attempts), and the gluc powder also slightly releases in to the broth to thicken as they cook. NICE!
For you “experimenters”, under no circumstances, increase the oat fiber!! I did one time and these were a fail. Not only were they hard as a rock, but they did not absorb any flavor from the chicken broth because of the density. Trust me, you DON’T want to go there! This delicate balance of ingredients is really pretty special and all attempts to “improve” them have been disappointing.
These were the best low-carb chicken and dumplings I’ve had in years! My husband gave these dumplings two thumbs up today, and he’s extremely picky. They don’t have much taste on their own, but pick up the flavor of whatever broth you cook them in. The carb count for these dumplings is simply unbelievable for the satisfaction they provide. Guilt free dumplings at last!! YAAAAAAY!
The recipe posted elsewhere on my site for chicken and dumplings is good, don’t get me wrong. But you have to bake the Oopsie rolls separately for that recipe. With this dumpling recipe, I can stir the ingredients together, drop them into the broth, and the dumplings are simmering immediately! Much easier! And you regular readers know I’m really in to EASY cooking.
These work nicely in soups if made smaller. I have made small, oblong shapes for marvelous gnocchi served in rich cream sauces. Some more adventurous cooks are even using pasta extruders and coming up with all kinds of noodle shapes for this dough! But I don’t own an extruder and probably wouldn’t go to that much trouble for noodles. Just being very honest. I’m a lazy cook. 🙂
These dumplings are not suitable until the grains rung of the Atkins OWL ladder due to the oat fiber, but omitting or substituting for it is just not an option here. I’m very proud to have developed a dumpling recipe that many who have tried freely admit fills a dumpling/noodle craving void in their low-carb lifestyles. 🙂
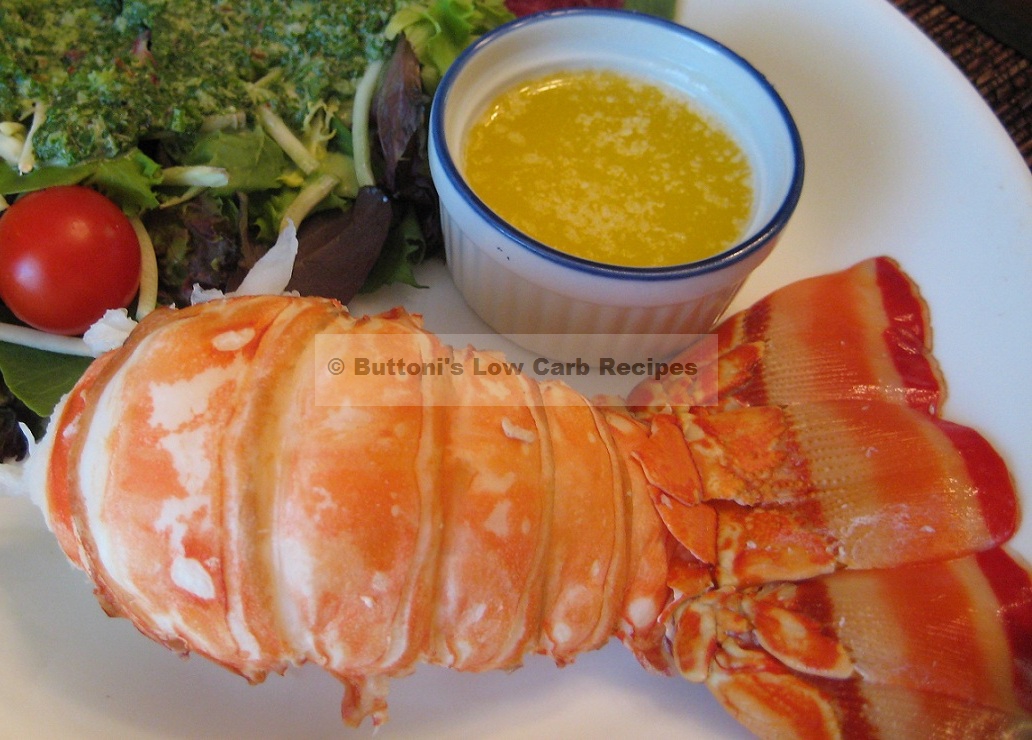
My Lobster Linguine recipe is the first time I tried rolling and cutting it into noodles and the final dish was quite good.
INGREDIENTS:
3/4 tsp. baking powder
1½ T. glucomannan powder (Konjac powder)
1½ T. oat fiber (For gluten-free, use oat flour ground from 100% gluten-free oats)
1/8 tsp. salt
¼ c. +2 T. water
1 extra large egg, 1 jumbo egg, or 2 medium eggs, beaten
VARIATION: Add 1-2 T. finely chopped parsley to the dry ingredients
DIRECTIONS: Beat the egg in a small bowl with a fork. Add the water and beat until well blended. On a paper plate or in another bowl, mix the dry ingredients well. Slowly sprinkle the dry ingredients into the wet, stirring with a fork or whisk. Switching to a rubber spatula, stir and begin to fold the slowly thickening mixture over and over itself until it is a contiguous mass of batter. it will turn into a drier dough as you mix it up. I let mine sit by the stove 2-3 minutes. Then, using a teaspoon, dip 3/4″-1″ dollops of the dough into your palm. This step is important: roll them gently in your palms into a ball shape. I set the balls on my counter or a silicone sheet until all are made. If you just drop them directly into the broth from the spoon without rolling, they tend to fall apart in the broth during cooking. If making gnocchi, using your hands, roll the dough into ropes on plastic wrap or silicone sheet and cut into short lengths for gnocchi, if that’s your application.
Remove chicken, meat or large chunks of vegetables to a platter before adding the dumplings to broth. This allows ample room for the dumplings to rise and swell during simmering. Have your soup/broth boiling (it will cool fast as you add the cooler dough balls). Drop the round dumplings/gnocchi into broth. When all are in the broth, adjust down to medium/medium-low so it will only gently simmer. This is IMPORTANT, as you don’t want to “rough up” these delicate babies boiling them in violently bubbling broth. Cover with tight fitting lid. From the time you cover the pot, set timer for exactly 10 minutes for dumplings (8 minutes for smaller gnocchi). DO NOT LIFT THE LID or shake pot during cooking. After 10 minutes (8 minutes for gnocchi), lift the lid and VOILA!! They’re done! You may like thicker stock for your dumplings, but we find but the dumplings themselves usually take care of thickening, as some of the glucomannan in them sloughs off into the broth, thickening it right up. 🙂
NUTRITIONAL INFO: Makes 12 medium 1½” dumplings (24 gnocchi), each contains: (halve the numbers for each gnocchi stats)
7.17 calories, 0.49 g fat, 1.38 g carbs, 1.29 g fiber, 0.1 g NET CARBS, 0.61 g protein, 55 mg sodium


 This dish is known as